就是 GETLASTERROR 返回下面的错误:
ERROR_INVALID_PARAMETER
87 (0x57)
The parameter is incorrect.
最好检查一下前面的 CreateFile 是否指定了 FILE_FLAG_OVERLAPPED 参数,但是 WriteFile 中 OVERLAPPED 又是 NULL
就是 GETLASTERROR 返回下面的错误:
ERROR_INVALID_PARAMETER
87 (0x57)
The parameter is incorrect.
最好检查一下前面的 CreateFile 是否指定了 FILE_FLAG_OVERLAPPED 参数,但是 WriteFile 中 OVERLAPPED 又是 NULL
最近在 GitHub 上看到了一个 UEFI 编写的迷宫游戏(作者 Haodong Liu , https://github.com/liute62/Firmware-UEFI-Maze-Game), 感觉界面不是很漂亮,于是拿过来进行简单的修改:
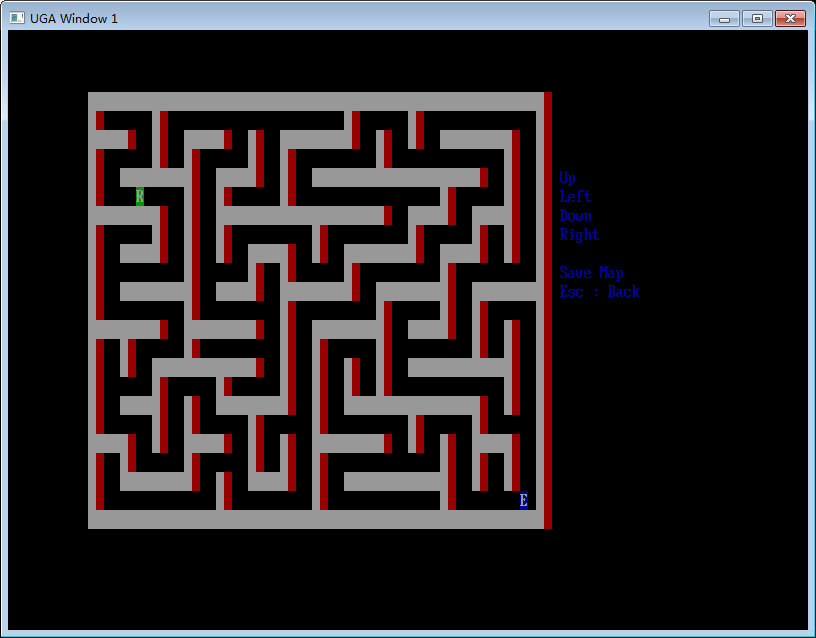
修改之前的原始代码和资料:
Firmware-UEFI-Maze-Game-master
修改之后的代码
uefimaze
用的按键是上下左右,ECS 还有 PageUp(类似 Enter的功能)。
差不多3年前的这个时候,我写过一篇介绍如何在 VS2013下面编译 Windows Driver Sample的文章【参考1】。今年的这个时候,我再一次尝试在 VS2015下面编译驱动。
For building Windows Sample you need below software
1. Windows 10 RS2: 15063.0.170317-1834.RS2_RELEASE_CLIENTPRO-CORE_OEMRET_X64FRE_EN-US (Note: VS2015 can’t be installed on Windows7)
2. 15063.0.170317-1834.rs2_release_amd64fre_WDK.iso
3. 15063.0.170317-1834.rs2_release_WindowsSDK.iso
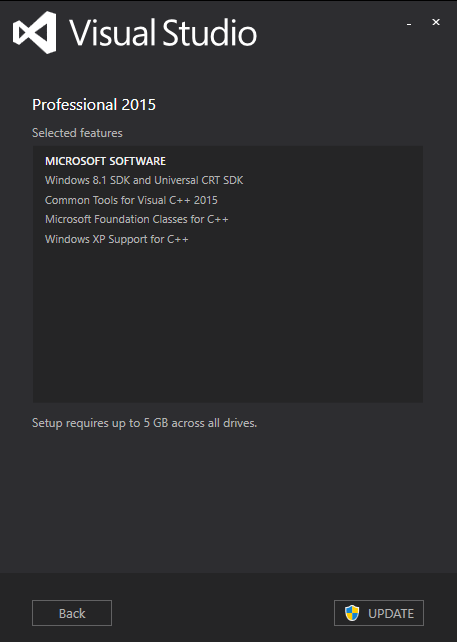
4. Visual_Studio_Pro_2015_English.iso
1.Install Windows RS2
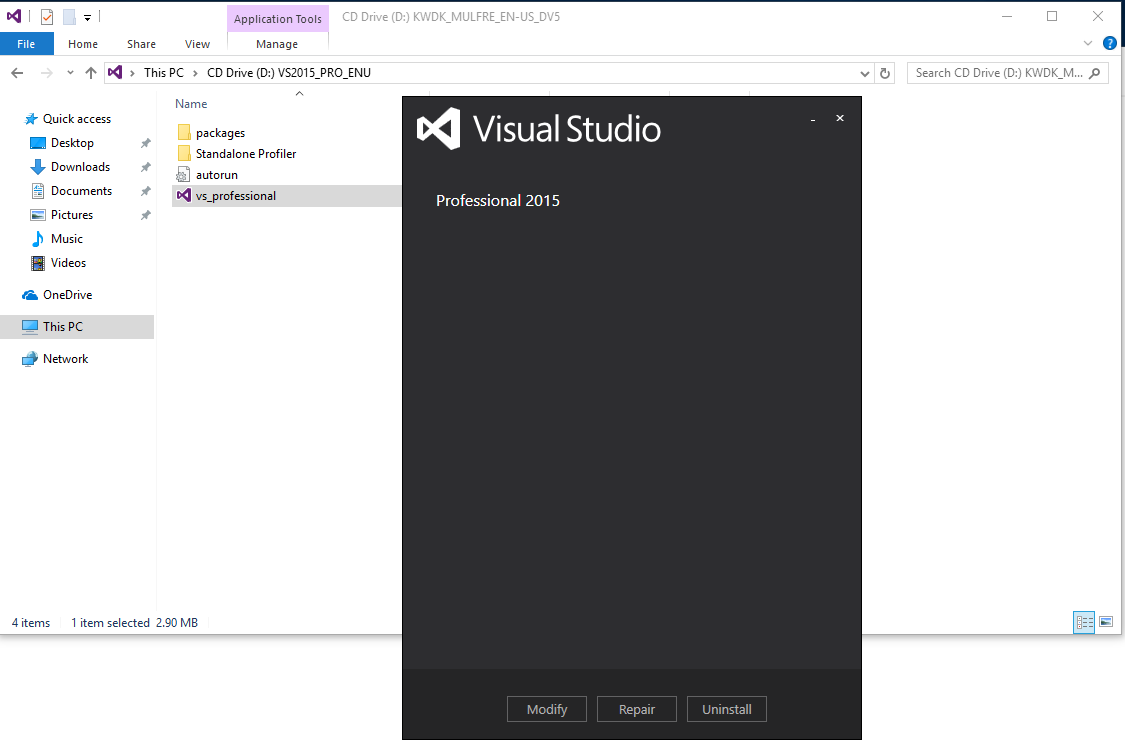
2.Install VS2015 (2 Hours),全默认配置
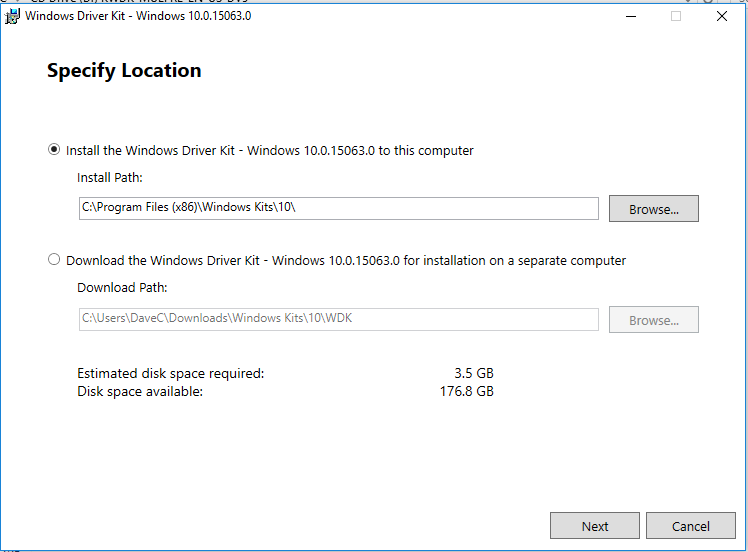
3.Install WDK 到默认的路径下
安装完成后,用 VS2015打开驱动工程文件。编译会出现下面的错误
“—— Build started: Project: SpbTestTool (Exe\SpbTestTool), Configuration: Debug Win32 ——
Building ‘SpbTestTool’ with toolset ‘WindowsApplicationForDrivers10.0’ and the ‘Desktop’ target platform.
TRACKER : error TRK0005: Failed to locate: “CL.exe”. The system cannot find the file specified.
—— Build started: Project: SpbTestTool (Sys\SpbTestTool), Configuration: Debug Win32 ——
Building ‘SpbTestTool’ with toolset ‘WindowsKernelModeDriver10.0’ and the ‘Universal’ target platform.
Stamping .\Debug\\SpbTestTool.inf [Version] section with DriverVer=05/18/2017,18.15.36.668
TRACKER : error TRK0005: Failed to locate: “CL.exe”. The system cannot find the file specified.
========== Build: 0 succeeded, 2 failed, 0 up-to-date, 0 skipped ==========”
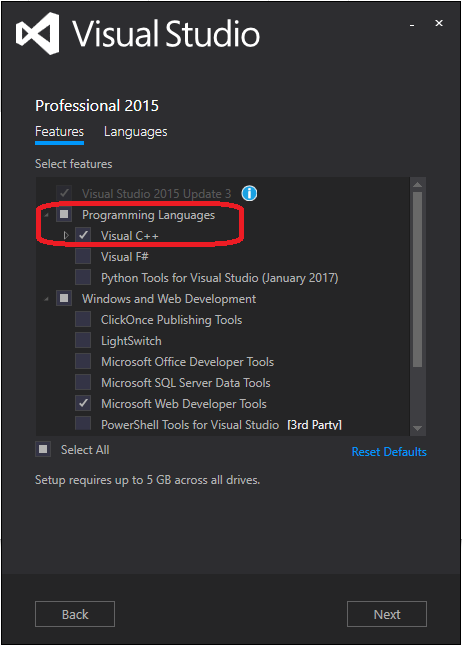
根据我的研究,这是因为VS2015默认安装没有带C++编译器(有点莫名其妙)
再进行一次编译:
—— Build started: Project: SpbTestTool (Exe\SpbTestTool), Configuration: Debug x64 ——
Building ‘SpbTestTool’ with toolset ‘WindowsKernelModeDriver10.0’ and the ‘Desktop’ target platform.
command.cpp
command.cpp : fatal error C1083: Cannot open include file: ‘C:\Program Files (x86)\Windows Kits\10\Include\10.0.15063.0\shared\warning.h’: No such file or directory
main.cpp
main.cpp : fatal error C1083: Cannot open include file: ‘C:\Program Files (x86)\Windows Kits\10\Include\10.0.15063.0\shared\warning.h’: No such file or directory
util.cpp
util.cpp : fatal error C1083: Cannot open include file: ‘C:\Program Files (x86)\Windows Kits\10\Include\10.0.15063.0\shared\warning.h’: No such file or directory
Generating Code…
—— Build started: Project: SpbTestTool (Sys\SpbTestTool), Configuration: Debug x64 ——
Building ‘SpbTestTool’ with toolset ‘WindowsKernelModeDriver10.0’ and the ‘Universal’ target platform.
Stamping .\x64\Debug\\SpbTestTool.inf [Version] section with DriverVer=05/18/2017,22.28.17.712
driver.cpp
driver.cpp : fatal error C1083: Cannot open include file: ‘C:\Program Files (x86)\Windows Kits\10\Include\10.0.15063.0\shared\warning.h’: No such file or directory
device.cpp
device.cpp : fatal error C1083: Cannot open include file: ‘C:\Program Files (x86)\Windows Kits\10\Include\10.0.15063.0\shared\warning.h’: No such file or directory
peripheral.cpp
peripheral.cpp : fatal error C1083: Cannot open include file: ‘C:\Program Files (x86)\Windows Kits\10\Include\10.0.15063.0\shared\warning.h’: No such file or directory
Generating Code…
========== Build: 0 succeeded, 2 failed, 0 up-to-date, 0 skipped ==========
这个错误是因为没有安装 SDK 导致的(VS2015自带SDK,但是可能版本和 WDK 的不匹配,所以有问题)。再安装 SDK,之后 Build again
—— Build started: Project: SpbTestTool (Exe\SpbTestTool), Configuration: Debug x64 ——
Building ‘SpbTestTool’ with toolset ‘WindowsKernelModeDriver10.0’ and the ‘Desktop’ target platform.
command.cpp
main.cpp
util.cpp
Generating Code…
SpbTestTool.vcxproj -> C:\spb\SpbTestTool\exe\x64\Debug\SpbTestTool.exe
SpbTestTool.vcxproj -> x64\Debug\SpbTestTool.pdb (Full PDB)
Inf2Cat task was skipped as there were no inf files to process
—— Build started: Project: SpbTestTool (Sys\SpbTestTool), Configuration: Debug x64 ——
Building ‘SpbTestTool’ with toolset ‘WindowsKernelModeDriver10.0’ and the ‘Universal’ target platform.
Stamping .\x64\Debug\\SpbTestTool.inf [Version] section with DriverVer=05/19/2017,0.46.12.487
driver.cpp
device.cpp
peripheral.cpp
Generating Code…
SpbTestTool.vcxproj -> C:\spb\SpbTestTool\sys\x64\Debug\SpbTestTool.sys
SpbTestTool.vcxproj -> x64\Debug\SpbTestTool.pdb (Full PDB)
Done Adding Additional Store
Successfully signed: C:\spb\SpbTestTool\sys\x64\Debug\SpbTestTool.sys
Driver is a Universal Driver.
……………………
Signability test complete.
Errors:
None
Warnings:
None
Catalog generation complete.
C:\spb\SpbTestTool\sys\x64\Debug\SpbTestTool\spbsamples.cat
Done Adding Additional Store
Successfully signed: x64\Debug\SpbTestTool\spbsamples.cat
========== Build: 2 succeeded, 0 failed, 0 up-to-date, 0 skipped ==========
成功!
本文提到的驱动是 Windower Driver Sample【参考2】的一部分。
这里我放置一个 SPB 的Driver
参考:
1.http://www.lab-z.com/spbtesttool/
2.https://github.com/Microsoft/windows-driver-samples
最近写了一个 Shell下的 I2C 访问工具,可以帮助大家进行 Shell下的I2C测试.
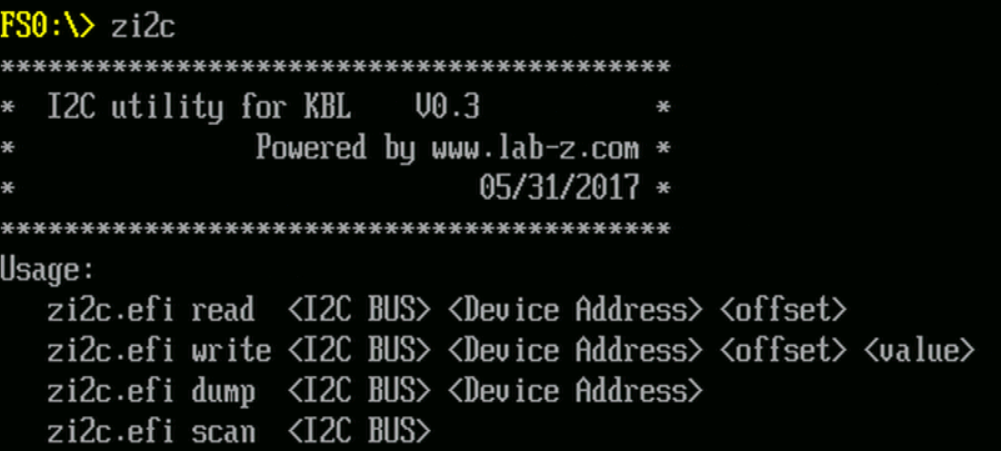
主要功能有4个:
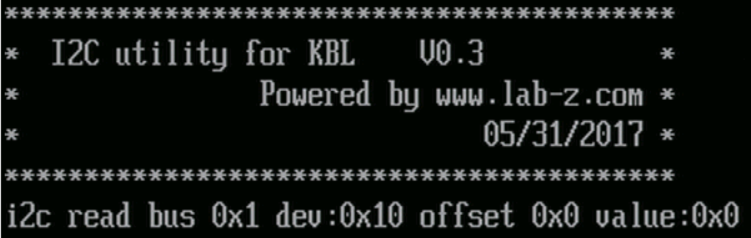
1. Read 读取给定的 I2C Bus, Slave Address, Register 的值
2. Write 向指定的 I2C Bus, Slave Address, Register 写入Value
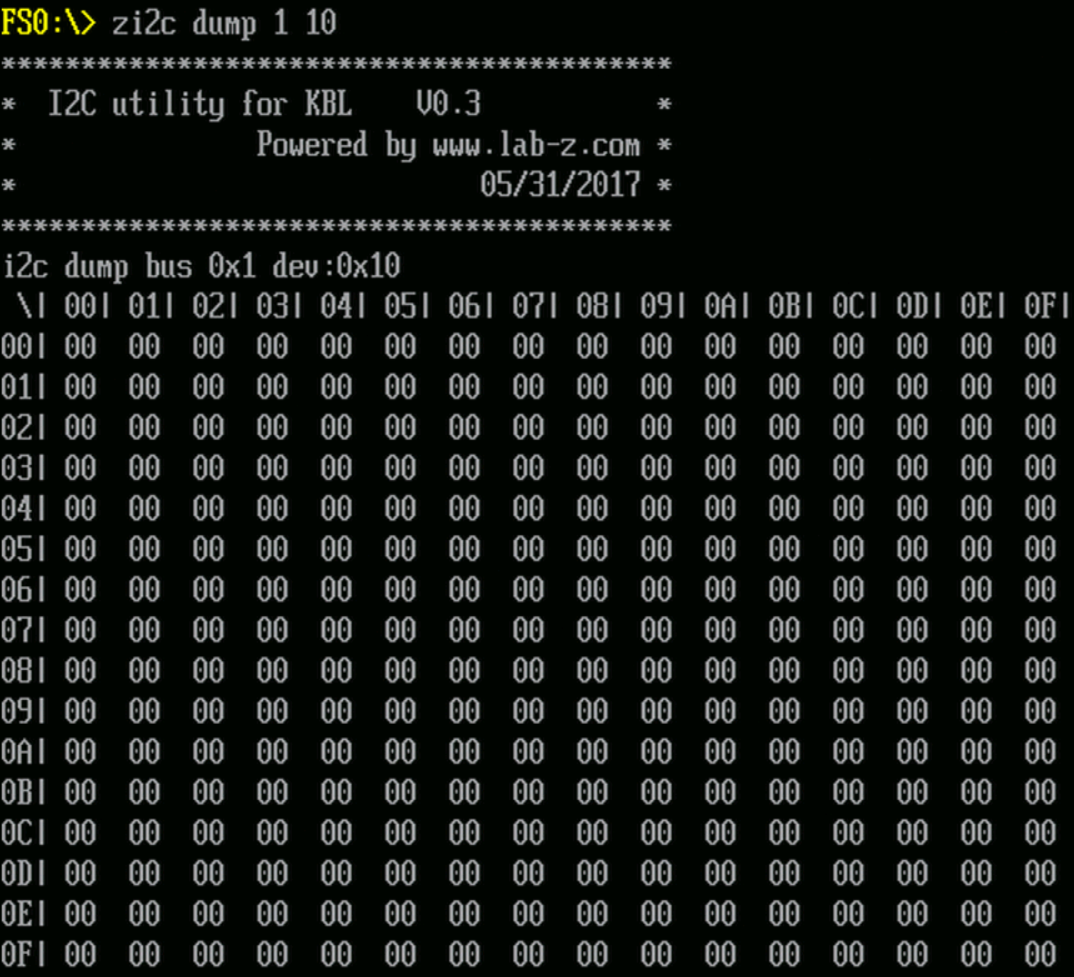
3. Dump 枚举指定的 I2C Bus, Slave Address上面的256 个Register
4. Scan 扫描枚举指定的 I2C Bus,列出所有对于读操作有 act的设备地址(128个)
A. Read 的功能
B. Dump 功能
C. Scan Bus 确定 I2C 设备地址的功能 ( 这是在 KBL-R HDK 板子上接入了一个 I2C Touch 后的扫描结果,可以看到一个设备上有很多个地址)

下载(无 Source Code)
2017年6月17日更新,之前的版本是 0.3 ,当前升级到了 0.4 修改了 write 无法正确写入的问题
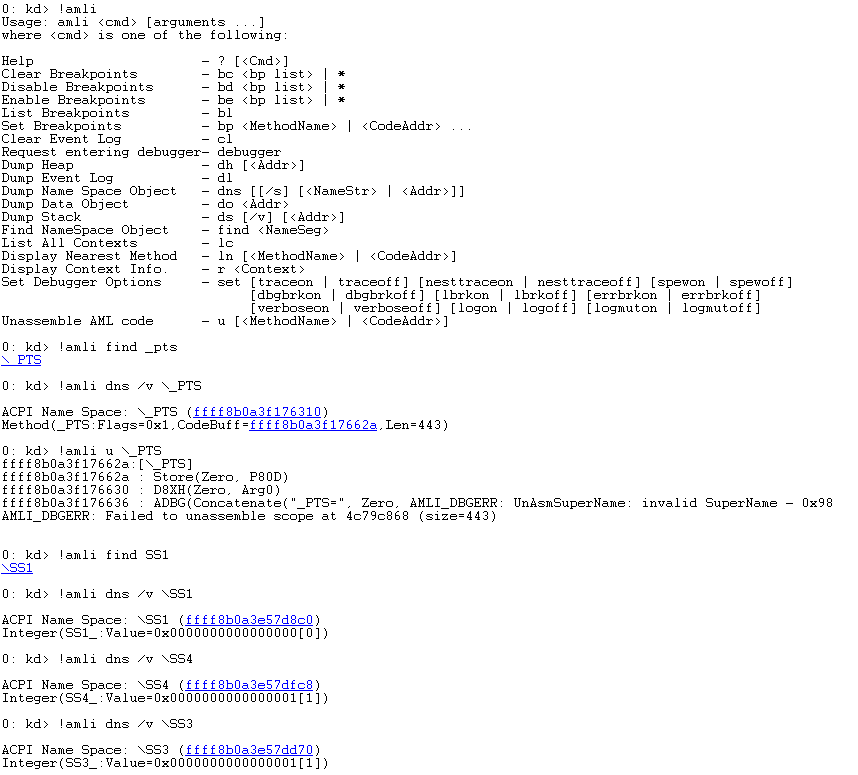
自从 Windows 升级到了 RS1 , WinDBG 就无法进行ACPI 的调试了,主要的现象是各种找不到变量函数等等。经过一番研究,终于摸索出来了在 RS2 上进行ACPI 调试的方法。具体步骤如下:
特别注意,第一次实验的时候务必按照顺序进行,否则很可能需要重头再来!
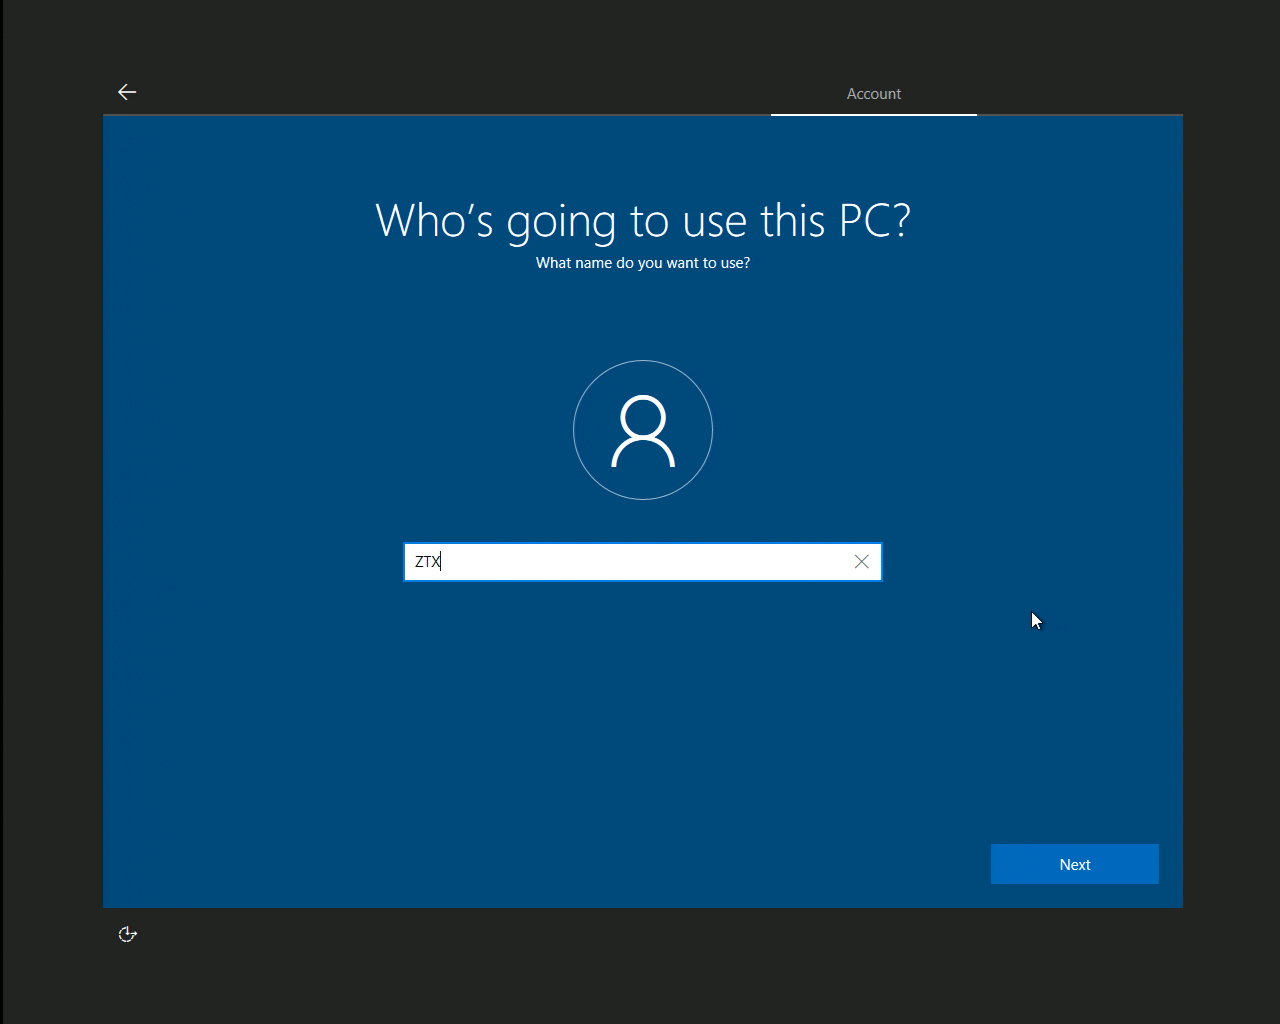
1. Target端安装 Windows RS2, 用户名为ZTX (请使用这个名称,确保后面的操作有参考作用)
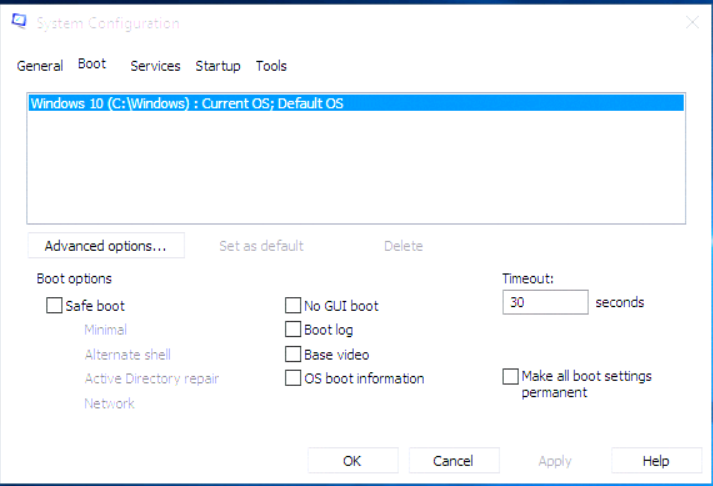
2. Target端进入 Windows后,运行 MSConfig
3. Target端CMD 串口下(Administrator 权限),运行下面的命令要求系统不检查驱动签名
bcdedit.exe -set TESTSIGNING ON
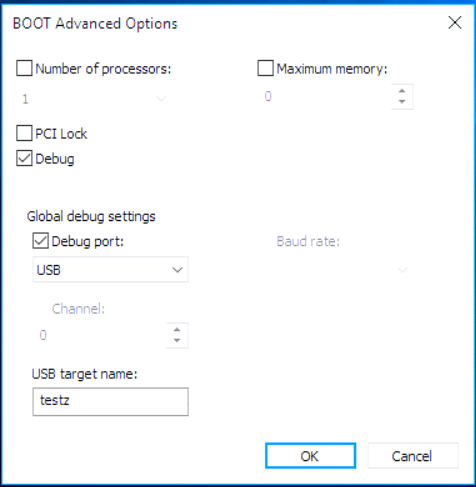
4. Host 端使用 WinDbg 确保这个步骤能连上,如果连不上请检查USB设定
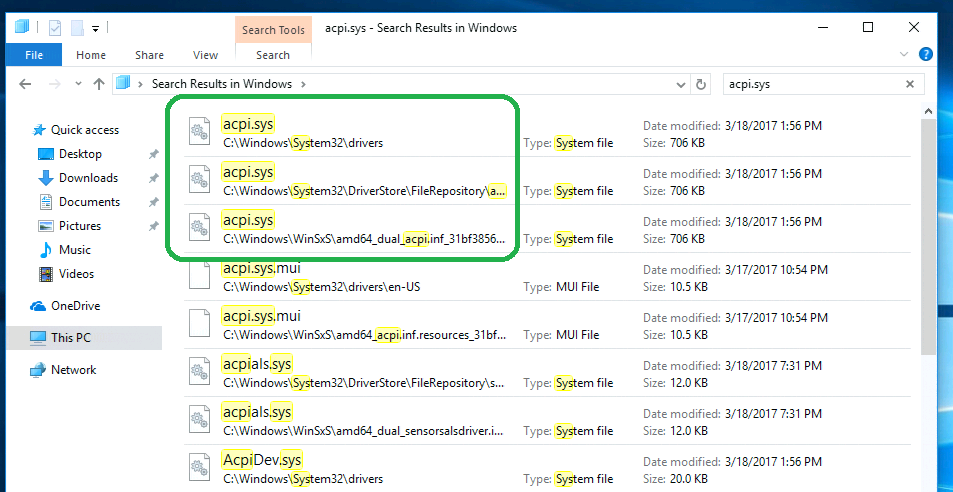
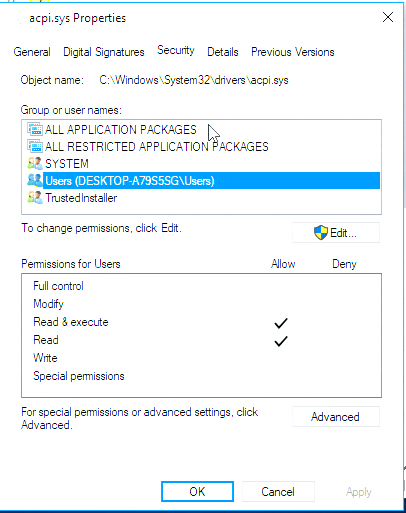
5. Target端进入 Windows/System32 下搜索 “acpi.sys”,会找到很多结果,我们的目标只是 acpi.sys,需要将系统中的这个文件替换为 checked 版本的。通常系统中会有1个以上的ACPI.SYS,一个是原本的驱动,另外是系统缓存出来的,所有的都需要删除
因为系统保护的缘故,删除动作很满烦,具体操作如下:
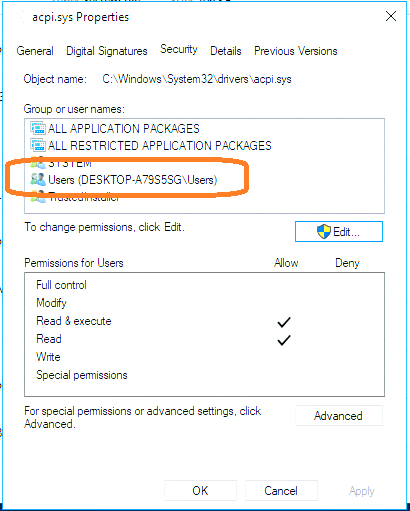
5.1 选择第一个 ACPI.SYS,打开 Properties –> Security查看 Users, 注意到是没有Modify 的权限的。
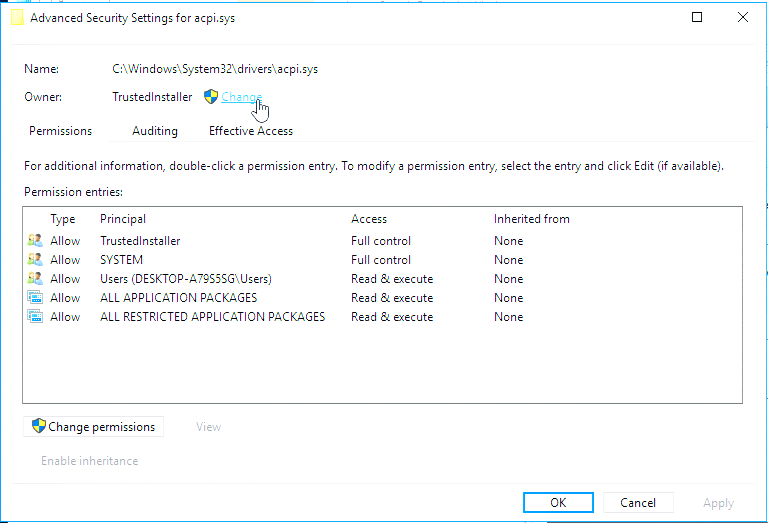
5.2 选择 Advanced, 点击 Owner:TrustedInstaller 后面的Change
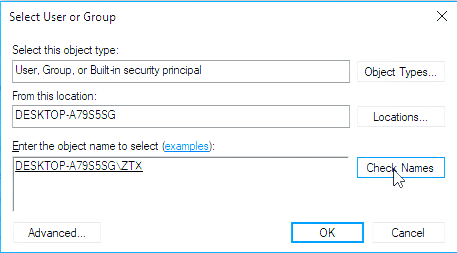
输入用户名 ZTX
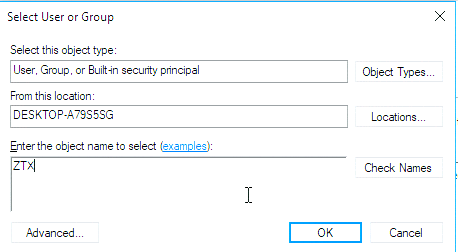
之后 Owner 会变成 ZTX
返回上一层之后选择 Users
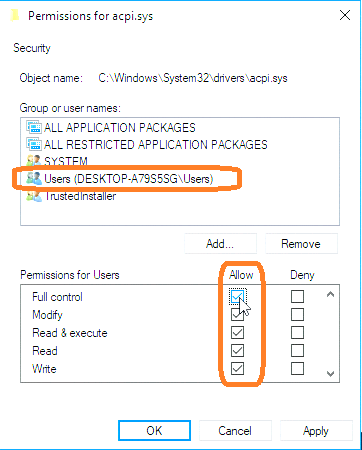
然后使用 edit 按钮,选中 Users 然后再选择 Full Control
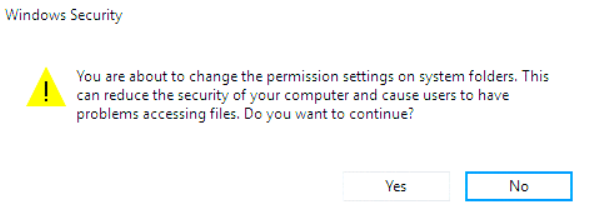
出现下面的提示,选择 Yes
之后,你就有权限删除所有的 ACPI.SYS了。然后将 checked 版本的 ACPI.SYS 放置到system32\drivers目录下。
至此就完成了替换,重启 Target端,
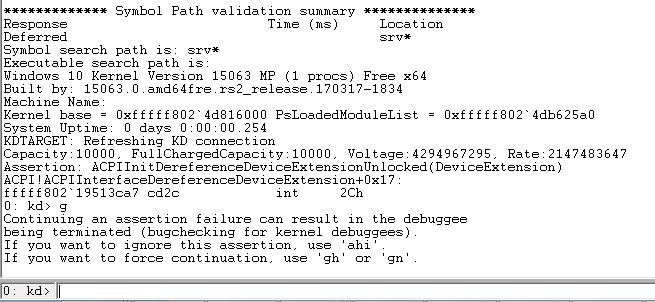
重启之后,HOST端的 WinDBG 会出现下面的提示(特别提醒,这里一定要连着WinDBG,否则看到的只能是无尽的BSOD):

输入 g 还会再次停下来
再输入 gh ,即可进入系统。
基于很早之前(那时候还有 MSN )编写的托盘程序,可以在内存中查找指定的进程(本例中查找的是Notepad.exe),如果找到了就在 memo 中记录当前时间。
编译环境为 Delphi XE2。
2017/5/30
参考:
1。http://www.lab-z.com/%E3%80%902009%E5%B9%B41%E6%9C%8816%E6%97%A5%E3%80%91delphi-%E5%BD%93%E6%9C%80%E5%B0%8F%E5%8C%96%E6%97%B6%EF%BC%8C%E8%87%AA%E5%8A%A8%E7%BC%A9%E5%87%8F%E5%88%B0%E6%89%98%E7%9B%98%E4%B8%AD/