Arduino 模拟鼠标目前有三种方法:
1.外部加电阻 USB母头等元件,然后烧录模拟程序,用 328P作为处理器。这种方法的缺点是:原件多,不容易调试,占用板载资源多,做出来之后基本上不能完成什么功能了(因为Usb低速设备传输要求1.5Mb/s,而328P最高只有16MHz),有兴趣的朋友可以看一下之前我做的一个锁屏的装置【参考1】;
2.直接使用Leonardo 这样主控是ATmega32u4【参考2】 的板子。这种方法的好处是:Arduino 原生库支持,资料比较多,调试方便。个人推荐初学者如果有鼠标键盘的需要可以玩这个;
3.原版的Arduino Uno 上面使用的串口芯片是 16u2,可以给这个芯片刷写上一个特殊的Firmware,它和PC端用USB鼠标或者键盘通讯,然后和 328P 使用串口通讯。
本文介绍的就是第三种方法。
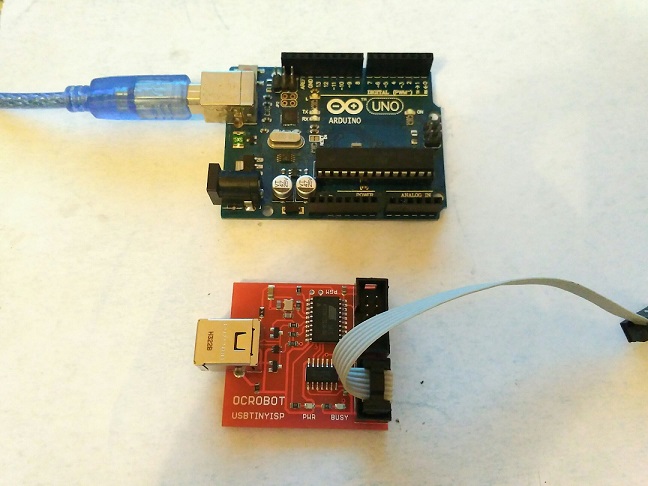
在玩第三种方法的时候,你需要特别准备一个烧写器。我用的是 USBTINY 这款。
本次实验的目标是将uno模拟成鼠标。参考的资料来自下面的页面:
http://hunt.net.nz/users/darran/weblog/cca39/Arduino_UNO_Mouse_HID.html
我刷写的工具是 AvrDudess 2.4,用法很简单,接线之后(建议选购下载器的时候直接选带完整线的,否则每次接线也是很麻烦的事情),按下 Detect按钮,软件需要检查到正确芯片的类型,比如,我的转接芯片是 16u2。如果无法侦测,那么请检查连线。如果折腾了很久都不行,那么请联系卖家所要驱动和刷写工具。刚开始的时候我就在这里折腾了很长时间。

因为串口芯片被刷掉了,所以接下来也必须使用刷写器写入编译好的Arduino 程序。
输入程序,确定编译无误
/* Arduino USB Mouse HID demo */

/* Author: Darran Hunt
 * Release into the public domain.
 */

struct {
    uint8_t buttons;
    int8_t x;
    int8_t y;
    int8_t wheel;	/* Not yet implemented */
} mouseReport;

uint8_t nullReport[4] = { 0, 0, 0, 0 };

void setup();
void loop();

void setup()
{
    Serial.begin(9600);
    delay(200);
}

/* Move the mouse in a clockwise square every 5 seconds */
void loop()
{
    int ind;
    delay(5000);

    mouseReport.buttons = 0;
    mouseReport.x = 0;
    mouseReport.y = 0;
    mouseReport.wheel = 0;

    mouseReport.x = -2;
    for (ind=0; ind<20; ind++) {
	Serial.write((uint8_t *)&mouseReport, 4);
	Serial.write((uint8_t *)&nullReport, 4);
    }

    mouseReport.x = 0;
    mouseReport.y = -2;
    for (ind=0; ind<20; ind++) {
	Serial.write((uint8_t *)&mouseReport, 4);
	Serial.write((uint8_t *)&nullReport, 4);
    }

    mouseReport.x = 2;
    mouseReport.y = 0;
    for (ind=0; ind<20; ind++) {
	Serial.write((uint8_t *)&mouseReport, 4);
	Serial.write((uint8_t *)&nullReport, 4);
    }

    mouseReport.x = 0;
    mouseReport.y = 2;
    for (ind=0; ind<20; ind++) {
	Serial.write((uint8_t *)&mouseReport, 4);
	Serial.write((uint8_t *)&nullReport, 4);
    }
}
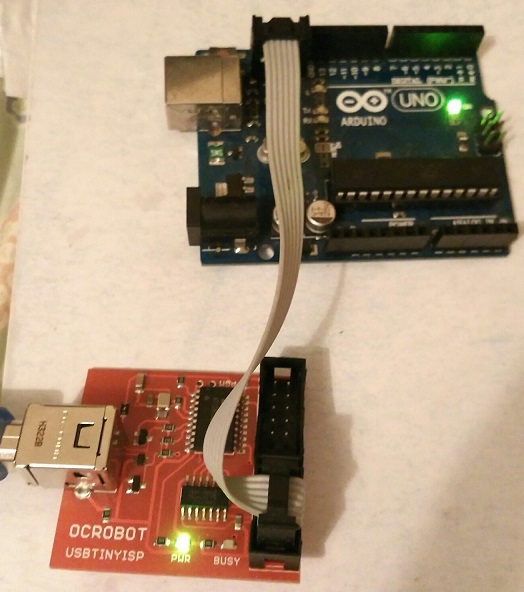
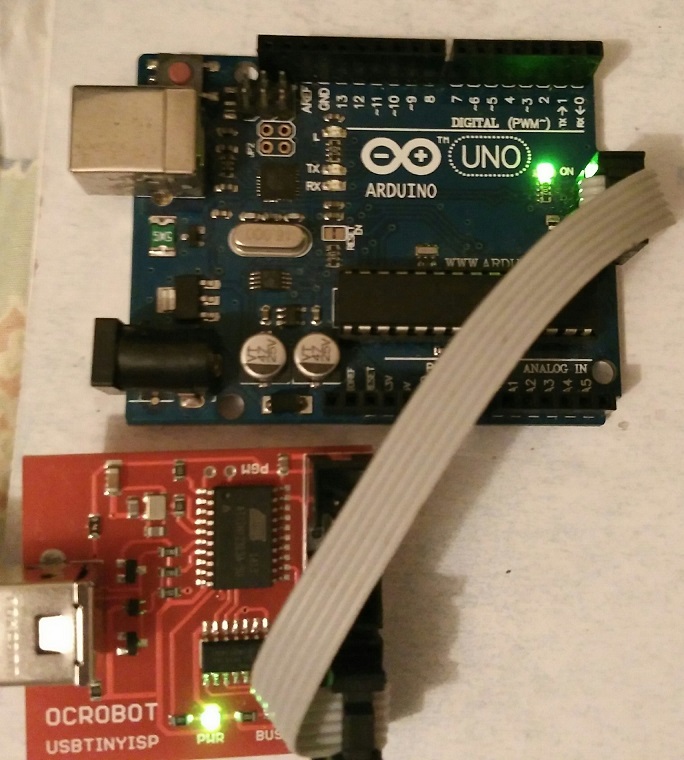
接线如下:
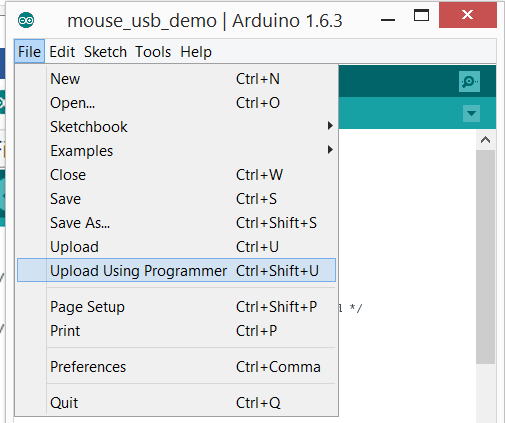
用 IDE 上传内容,需要一些设置,指定刷写工具
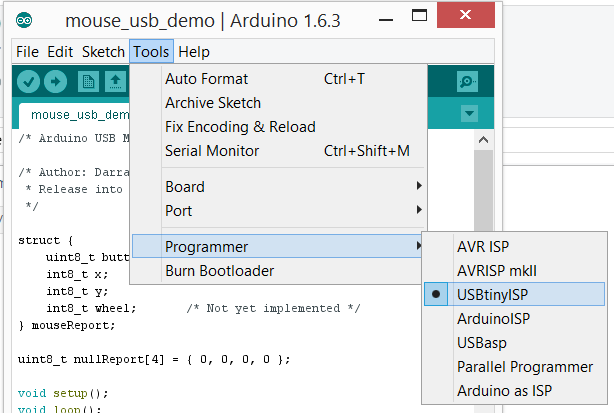
然后使用 File->Upload Using Programmer 来进行上传
上传成功:
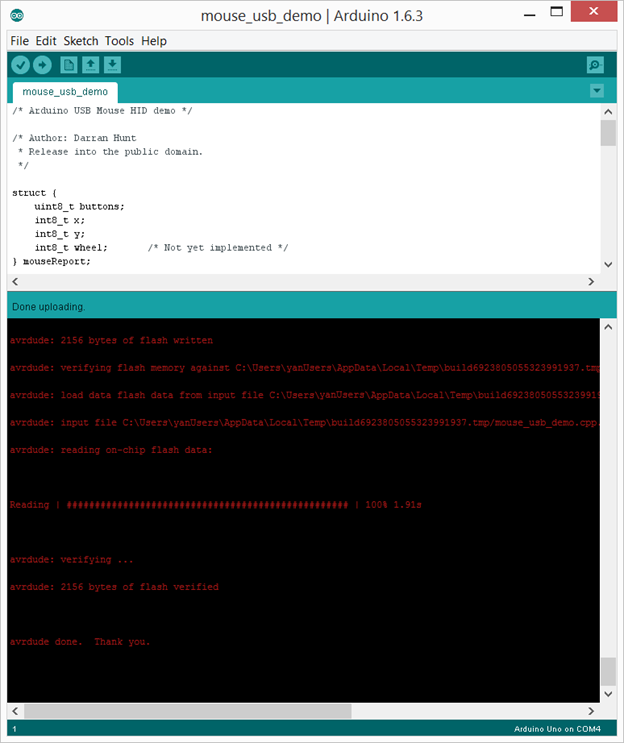
成功之后,用Arduino Usb口连接电脑,你的鼠标每隔一段会自动旋转一圈,同时在设备管理器中会出现一个鼠标设备:

这个和16u2 Firmware source code(Descriptors.c)中定义是相同的
.VendorID = 0x03EB,
.ProductID = 0x2041,
.ReleaseNumber = 0x0000
最后,特别提醒:设计模拟USB鼠标键盘之类的程序时,一定要考虑留多加一个运行条件。比如:某个引脚设定为低时才运行,或者上电10s才运行。否则有可能出现程序正常,但是因为键盘鼠标的干扰你没有再重新刷写新的代码的机会。
本文提到的16u2特别的 Firmware 下载 Arduino-mouse-0.1 源程序 arduino-mouse-0.1.tar
参考:
1. http://www.lab-z.com/20140101/ 用 Arduino 打造一个自动锁屏装置
2. http://www.arduino.cn/thread-1205-1-1.html Arduino Leonardo 中文介绍