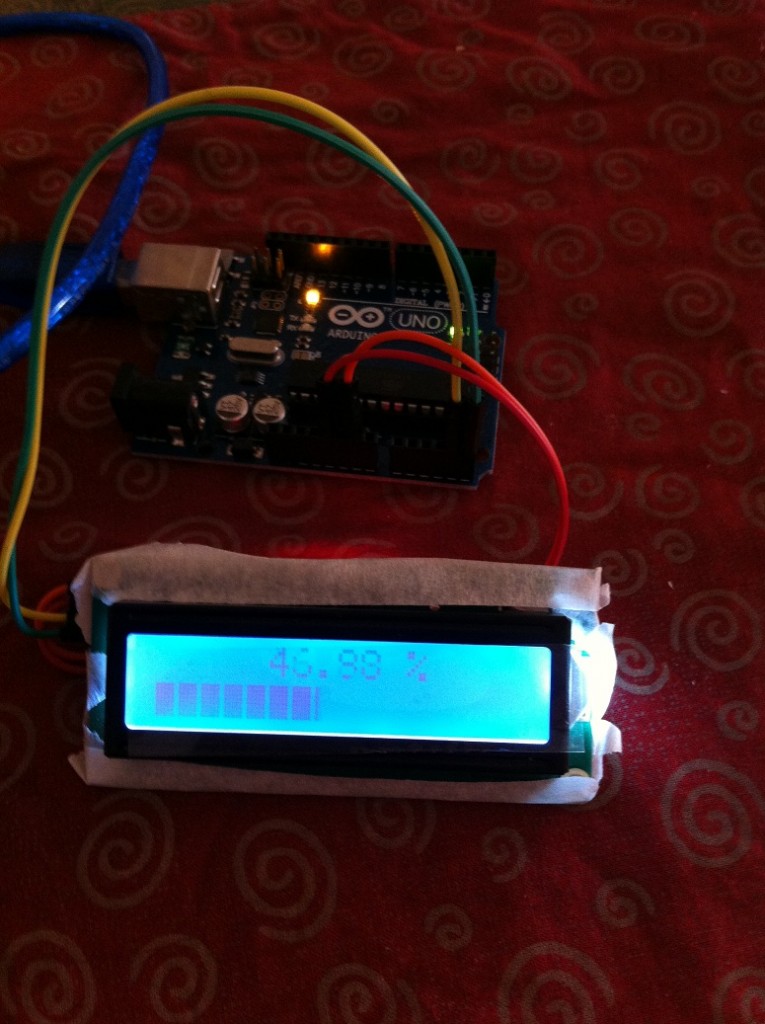
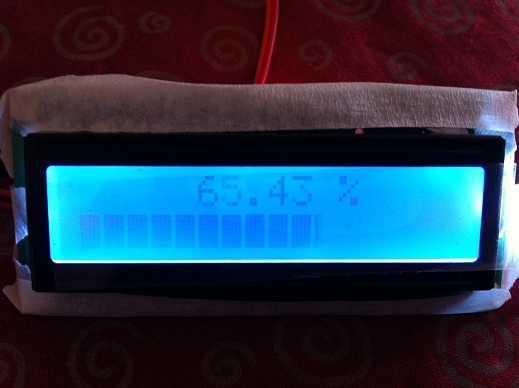
在 https://www.electronicsblog.net/arduino-lcd-horizontal-progress-bar-using-custom-characters/ 这里发现比较有趣的代码:用1602LCD 实现一个进度条。根据文章指引,我也试验了一下。
弄明白了原理,程序非常简单:
//https://www.electronicsblog.net/
//Arduino LCD horizontal progress bar using custom characters
#include <Wire.h>
#include "LiquidCrystal_I2C.h"

#define lenght 16.0

double percent=100.0;
unsigned char b;
unsigned int peace;
int value=100;

// custom charaters

LiquidCrystal_I2C lcd(0x27,16,2);

//定义进度块
byte p1[8] = {
                0x10,
                0x10,
                0x10,
                0x10,
                0x10,
                0x10,
                0x10,
                0x10};

byte p2[8] = {
                0x18,
                0x18,
                0x18,
                0x18,
                0x18,
                0x18,
                0x18,
                0x18};

byte p3[8] = {
                0x1C,
                0x1C,
                0x1C,
                0x1C,
                0x1C,
                0x1C,
                0x1C,
                0x1C};

byte p4[8] = {
                0x1E,
                0x1E,
                0x1E,
                0x1E,
                0x1E,
                0x1E,
                0x1E,
                0x1E};

byte p5[8] = {
                0x1F,
                0x1F,
                0x1F,
                0x1F,
                0x1F,
                0x1F,
                0x1F,
                0x1F};

void setup() {
                lcd.init();                      //初始化LCD
                lcd.backlight();		 //打开背光

			//将自定义的字符块发送给LCD
			//P1 是第一个,P2 是第二个,以此类推
                lcd.createChar(0, p1);
                lcd.createChar(1, p2);
                lcd.createChar(2, p3);
                lcd.createChar(3, p4);
                lcd.createChar(4, p5);
}

void loop()
{
                //设置光标在左上角
                lcd.setCursor(0, 0);

                percent = value/1024.0*100.0;

		//当超过100%的时候自动校正为 100%
		if (percent>100) {percent=1;value=0;}

                lcd.print("     ");
                lcd.print(percent);
                lcd.print(" % ");

		//移动光标到第二行
                lcd.setCursor(0,1);

                double a=lenght/100*percent;

                // drawing black rectangles on LCD
		// 显示全黑块。
                if (a>=1) {
                    for (int i=1;i<a;i++) {
                                lcd.write(4);
                                b=i;
                        } //for (int i=1;i<a;i++)
                    a=a-b;
                }
                else {b=0;}

                peace=a*5;

                // drawing charater's colums
		// 显示除去全黑块之后的零头
                switch (peace) {
                  case 0:
                        break;
                  case 1:
                        lcd.write(0);
                        break;
                  case 2:
                        lcd.write(1);
                        break;
                  case 3:
                        lcd.write(2);
                        break;
                  case 4:
                        lcd.write(3);
                        break;
                  } //switch (peace)

               // clearing line
	       // 用空格填充剩下的位置
              for (int i =0;i<(lenght-b);i++) {
                lcd.print(" ");
                }

		//递增
                value=value+10;
		delay(300);

  }
连接
大图
代码下载 pb1602
================================================================================
2015年3月13日 特别注意:自定义字符一次不能超过8个,如果需要自定义很多个,可以用动态的方法进行切换,参考 http://www.geek-workshop.com/thread-5190-1-1.html 1602自定义字符的另一种思路,实现超过8种自定义字符的显示

